Pages

Tuesday, December 11, 2012

Merry Christmas: Carol of the Bells


Here is a rather high velocity rendition of “Carol of the Bells” for your “Countdown to Christmas” playlist. It is performed on a resonator guitar—aka “dobro”—which I handcrafted several years ago. The song arrangement is my own; I hope you enjoy it.
Merry Christmas to you and your loved ones. May you enjoy and appreciate God’s blessings during this holiday season.


Sunday, May 6, 2012

Living Small Part 3: Snake Story

Living off the paved road in Northeast Tennessee, most of our neighbors have four legs. A few have two. Some have none.
Snakes. Just say the word and stories start to fly. Examples: (1) A friend is in the yard with her young son. She walks over to pick up a stick, and the “stick” moves. Screaming at her son to run inside, she sprints to the car. Shifting into gear, she roars back and forth over the creature until its lifeless carcass shivers to a stop. Nice field expedient use of weaponry, but perhaps a wee bit of overkill. (2) In a previous lifetime, Barry walks into a darkened chicken coup to gather eggs. He reaches into one nest and finds himself staring at a very large, well-fed snake. A battle involving a sharp blade ensues, and the snake loses. Another example in a very long list of how people typically overreact to snakes.    
Snake Story:
It’s three years since my sawmill has been fired up thanks to insanely persistent foot injuries.  With some recent relief, a few days ago it seemed like a good time to get it back in service. As with any piece of machinery, unless you have prepared it for long-term storage, the worst treatment is to let it sit idle—especially if it is outside. It is akin to a mechanical death sentence. And, that is what my sawmill had endured. But, where to begin?
Start by checking for mouse damage. As I remove the tarp I am reminded that some of the battery cable sheaths on the mill have an uncanny resemblance to snakes—someone on the Woodmizer sawmill design team must have a wicked sense of humor. I pop the lid on the battery compartment and crack it open. First thought: There are those dang snaky-looking battery cables. Second thought: I don’t remember there being so many of them. Third thought: Battery cables don’t move. Fourth thought: &%$*#!!! Fifth thought: Maybe I better get Becky to photo-document this. She reluctantly agrees when I remind her about the zoom lens.
Then I open the lid all the way.
This is definitely one of those good news/bad news moments. Good news: No mouse damage. Bad news: Battery compartment is now Snake Condo. Good news: This appears to be a non-poisonous black snake. Bad news: Make that “snakes.” What now? My spring assisted Gerber knife is easily flipped open with one hand, so I reach over and . . .
Close the lid and leave them alone. Fortunately, our friend and her car are nowhere around—and I have learned to deal with snakes a bit more rationally. If you keep breathing and look closely, there appear to be two and not two hundred—the lighter colored and more slender female rests behind the darker, heftier male. Black snakes are quite common around here and it is not unusual to see ones in excess of six feet long. Although the sight of them can cause your heart to skip a beat, black snakes are quite harmless and tend to be fairly docile creatures. If agitated, yes, they may strike in self defense and an unwashed bite could become infected, but they lack the hypodermic needle-like fangs and venom characteristic of poisonous snakes. That is pretty much the extent of their danger to humans. Unless of course while hiking you see one and leap off a cliff in terror. Or, if one slithers onto your sleeping bag and you have a heart attack. In those cases, your reaction—not the snake—could be lethal.
Snake stories also abound in the Bible and are usually associated with that which is evil. There is a curious good news/bad news exception in the Old Testament where Moses is leading Israel through the desert and they are afflicted by poisonous snakes (Num. 21:4-9). Following God’s instructions, Moses makes a bronze serpent and raises it on a pole. Instructions are called out: If bitten, look to the bronze replica on the pole. Those that do are healed. This story transforms from peculiar to magnificent when revealed as a historical type, or forerunner, for an event in the New Testament: “And just as Moses lifted up the serpent in the wilderness, so must the Son of Man be lifted up, that whoever believes in him may have eternal life. For God so loved the world that he gave his only Son, so that everyone who believes in him may not perish but may have eternal life” John 3:14–16 (NRSV). Looking to the serpent healed physically. Looking to the Son of God heals spiritually.

Sunday, April 15, 2012

Living Small Part 2: The Timber Frame

Timber frames are usually associated with days gone by—they have an aged look about them. Squared timbers connected with intricate joinery held in place by wooden pegs seem to exude the scent of antiquity. They should, because they are. Our most familiar mental images of timber frames come from the centuries old “half timber” buildings still gracing Europe and “Amish barn raisings” where communities hoisted the massive cross-sectional “bents” into position. A timber frame thoughtfully designed and built may well be the consummate blend of form, function, strength, and beauty. From the first time I ever laid eyes on one, I knew I had to build a timber frame.
But, where do you begin? As I recall, the recipe for chicken soup begins: “First, catch a chicken.” Similarly, so it is with timber framing: First, get timbers. If you want to find 8”x8” timbers to turn into posts (vertical timbers) and beams (horizontal timbers), Home Depot doesn’t quite cut the mustard. If you take pleasure doing things yourself, buying a band saw mill is one option. I bought a very basic sawmill; hydraulics do not move the logs—you do. If you decide to follow a similar path, cancel your gym membership; workouts are now free.
Crafting joints that hold beams together is the most cerebral, time-consuming, and challenging task. Large mortise and tenon joints are used to connect 8”x8” primary timbers while dovetail joints connect the smaller 6”x6” floor and ceiling joists. One of a timber frame’s most distinct features is the diagonal braces that provide both strength and symmetrical beauty—Pythagoras and his theory are definitely your friends as you do the math for cutting these joints. It took many months prior to building the foundation to cut our frame. I used a mix of traditional and contemporary tools for this frame—3” wide chisels (slicks) worked alongside electric planers, drills, and saws. Since you do not pick up three-hundred pound square oak timbers and set them on stationary tools, more often than not you bring the tools to the timbers and work from there. Things begin to really make sense once you start assembling the bents. If you think of a timber frame as a skeleton, the bents are the skeletal parts that interconnect to support all the others. They are also the first parts assembled as you prepare for raising the frame.
Raising even a small timber frame such as ours is unforgettable. It is the culmination of hundreds of hours of work. Lifting thousand pound bents into position and hoisting the interconnecting timbers into place produces heart pounding moments of excitement. It also requires help. Six friends from church—and one knuckle boom—assisted in our raising. As the bents are raised, it becomes an ultimate test of your measurements and calculations as the beams are joined. Unfortunately, the remnants of hurricane Ernesto also attended our raising and it rained off and on most of the day. The moisture caused a few of the wood joints to swell and required some last minute paring with the slick to fit properly. Everyone was so motivated that even the intermittent rain didn’t dampen spirits. The first two bents were assembled by noon after which we followed the traditional practice of providing a hearty lunch for the crew.
As the sun set and shadows lengthened, almost 11 hours after we began, the frame was assembled. We covered it with a huge tarp for protection from the rain and breathed a collective sigh of relief and satisfaction. The timber frame now stood upon the stone foundation, just where it belonged. What a day.

“For every house is built by someone, but God is the builder of everything” (Heb. 3:4). This must be one of the most simple, yet profound verses in all of scripture—when you see a house, you know there is a builder; when you see creation, you know there is a Creator. The Hebrews passage develops this thought even further: “But Christ is faithful as the Son over God’s house. And we are his house” (Heb. 3:6). This is one of several metaphoric descriptions in scripture where God’s people are being built into a spiritual house. This imagery is especially poignant if you live in a home built with your own two hands. When I walk through our little timber frame, I can point to a timber and tell you a story. I can point to a wooden peg and tell you another. There is nothing impersonal here. There is even a beam where my own blood was shed. So too it is in God’s house. My blood was shed by accident; His out of love.

Recommended Resource: Ted Benson; Building the Timber Frame House: The Revival of a Forgotten Craft

Monday, April 2, 2012

Living Small Part One: Life on the Rocks

Some of the oldest surviving structures crafted by human hands have been built with stone. Working with stone is both difficult and potentially dangerous. It can also be extremely rewarding—artistically, physically, and even spiritually. Who can resist? Having sold our restored 1860’s era farmhouse, Becky and I were ready to live in a 28’ travel trailer while I built our timber frame home on 12 acres of mountain land. We had debated whether to buy a trailer or repair the existing hunting cabin; in fact, I had recently been doing some ceiling repairs in the cabin where mice had created havoc in the attic. When I pulled down one section of damaged ceiling and the last three feet of a very large black snake came swinging down “Tarzan Style” and struck me in the chest and face, Becky informed me that we were going with the trailer. To answer your unspoken questions, yes, I did ascend into the attic to capture the snake, and no, when climbing into a small enclosed space inhabited by an unknown number of limbless reptiles, it does not help to have a very vivid imagination.
We built the foundation of our small home from native stone since our land was blessed with such an abundance of it. While digging down to the solid rock that serves as the footer we unearthed even more of this natural building material. When working with stones, a good starting point is to sort them by size and shape. Those with flat and parallel sides are particularly good to work with. Small stones are helpful for filling the inevitable spaces between the larger ones. Very few stones from your collection will be too odd or peculiar to work in somewhere. Talk about metaphorical hope for ourselves and the rest of humanity.
After laying out lines for your foundation, it is usually best to build the wall beginning from the corners. The thickness of a load bearing stone wall is determined in part by its height and by the distance between corners or buttresses. In our case, the wall thickness was about 18”. We used a mix of 1:3 Portland cement to masonry sand for our mortar. Stone work becomes cerebrally right-brain oriented as you spend large amounts of time looking for the right rock to fit a particular place. You may even question your sanity as you encounter the same unused rock so often that you subconsciously name it. One of our favorites was “Mr. Spotty.” He eventually fit in perfectly.

 As you build the wall, attempt to stagger the mortar joints so that they do not align vertically; have solid rock above and below mortared joints. This strengthens the wall immeasurably. Depending upon stone size, you typically do not want to go more than three courses of stone high during each session. Recess or strike the joints, clean the excess mortar off stones with a steel bristle brush, and cover the wall with plastic to cure for a few days. Depending upon the humidity, you also need to mist the mortar with water to prevent it from drying too quickly.
Stone walls rock as they begin to take shape.
And stone walls really rock, but don’t roll, when you are finished.

Where can you go in the Scriptures and not encounter rocks or stones? From a small stone slung to slay the raging giant, to the Psalmist crying out “Blessed be the Lord, my rock,” to the craftsman shaping stones into speechless idols, rocks and stones are scattered throughout its pages as if they were a freshly plowed field. It seems that rocks often characterize two extremes: deliverance or destruction. In one of our most beloved parables, Matthew 7:24-27, we find a story of two contrasting house builders—one who builds upon a rock and another who builds upon the sand. It seems that both houses and home owners did well at first—but then came the storm. And the storm revealed who acted wisely and who did not. Many people today wonder why we should place hope in a two thousand year old book filled with ancient stories such as this. Perhaps a good answer to that is found in the very first verse of the parable which states, “Everyone who hears these words of mine and acts on them will be like a wise man who built his house on rock”. Those words haunted me while building our foundation. But then one night, I was standing on our stone foundation and the storm came. Below me our little travel trailer seemed such a contemporary picture of what it means to build on sand. Life is fine as long as there are no storms. But then come the storms. And as the little travel trailer rattled and shook, I stood on the rock of my foundation, and understood.

Sunday, March 25, 2012

The Roar of the Falls

A favorite bike trail of mine parallels a breathtaking mountain stream. Following heavy rains or snow melts, it becomes breathtaking for another reason—to use a bit of river rafting terminology, it becomes big and scary. As in the days of Noah, the deluge draws boat people—kayakers in particular. There is one series of stair stepped falls that must be intimidating, even to kayakers, because on big-water days you see the telltale signs of them making a portage around the falls. I don’t blame them. Whenever I see that cascade of water at its fullest I think: there are only two things that go over that falls--fish droppings and fools.
Last month, after two warm days with heavy snow melts, I was biking up the trail when it began snowing. As I pedaled away, thinking that I was the only one crazy enough to be out here in such weather, I came upon four guys standing at the foot of the falls in rapt discussion. Their elaborate garb gave them an alien appearance—kind of a cross between football and water sports with full face guard helmets and padded wet suits with floatation devices. Kayakers in the snow! And they were at the falls contemplating going over? Stopping was the only option. This was also a great opportunity to test my people analysis skills. They all did a lot of pointing. Two of them frowned a lot and shook their heads. The other two had that odd gleam in their eyes associated with contact sports and nodded vigorously. For once I had gotten to the show on time. Where is the buttered popcorn when you need it?
After their survey, all four ascended above the falls and the first two guys, we’ll call them Sane One and Sane Two, returned carrying their kayaks and climbed down to a good rescue position. This was a great relief because I was wearing my brand new Rocky S2V boots and didn’t want to get them wet. In a few minutes the other two guys, we’ll call them Wildman One and Wildman Two, came into view wearing kayaks and staging themselves above the falls. Wildman One went first and aimed for the center plume of the fall where the water was fullest and fell almost vertically. It was awesome. I have heard that urinating inside a wet suit is one field expedient way to heat it up; if so, he was undoubtedly comfortable. Unfortunately, he came out of the hydraulic upside down and spent the next several heart-pounding seconds successfully performing a corrective roll. Hand out kayaking medal number one. Wildman Two followed the exact same route and performed flawlessly coming out of the churning water in perfect form. Hand out kayaking medal number two. By now a couple of other bikers had stopped and we spontaneously gave all the kayakers a standing ovation. Considering the weather, one biker spoke for us all when she said, “And I thought we were crazy!”

Some of our favorite stories from the Old Testament involve people being rescued through dangerous waters. Noah sailed safely above, Moses marched safely through, and Jonah floated safely below. But all were delivered through the waters. The ancient listener would have probably smelled the salty sea air whenever Isaiah 43:1-7 was read reminding them of these patriarchs of the faith. Verses 1-2 declare “Do not fear, for I have redeemed you; I have called you by name; you are Mine! When you pass through the waters, I will be with you; and through the rivers, they will not overflow you.” Christians today might find a metaphorical application and comfort from these verses as well. Sometimes the peaceful waters of life become intimidating rivers. Notice how God does not promise us continual “flat water canoeing” on idyllic lakes. Sometimes the flat water turns to falls and it becomes time to get into kayak mode. A key to remember when you find yourself kayaking the falls is not that God has forgotten you but rather that he will be with you in the midst of it.

Thursday, March 15, 2012

The Thirteenth Rugger


I was standing before the registrar’s desk at Trinity Western College in British Columbia minding my own business when I was suddenly surrounded by very large guys who start shaking my hand, pounding me on the back, and encouraging me to sign up for a sport I had never even heard of. I suppose they picked me out of the lineup because I am fairly large plus they found out that I had just gotten out of the military. They assured me that, although this sport is a little like football, it is “a lot more fun.” They looked normal enough at the time, so feeling a bit special about having been selected, I said “Okay.” After all, I thought, what harm could come from playing a game called “rugby”? 
The first day of practice I kept wondering when we would get our protective gear—shoulder pads, knee pads, helmets and such. We had our rugby shorts and shirts, but where was our equipment? None ever arrived. We lined up for tackle practice and it dawned on me—there was none. It suddenly felt as though I was preparing to play football in the nude. I remember facing this guy named Wayne at about ten meters distant. We were supposed to run at each other as fast as we could and see who tackled whom. I was familiar with being in high school and running with football pads, being in the military running with body armor, but rugby is played by scantily clad lunatics and now I was one. Even with our little shorts and shirts on, I still remember the uncomfortable feeling of racing across the rugby field as naked as the day I was born. By the time the dust settled, I probably would have fared better trying to tackle a Brahma bull than Wayne. A Brahma bull doesn’t want to tackle you a second time—Wayne does.
About halfway through practice I was told that, thanks to my height, I was going to play a position where I actually did get to wear some special protective gear. Praise God, I thought. I hope it looks like a Brinks truck. They hand me this little thing that looks like two Krispy Kreme donuts with straps. “It’s for your ears,” they said. “My ears? What about the rest of me?” They showed me how to strap this little contraption onto my head so that my earlobes didn’t get chaffed in an upcoming event called “the scrum.” The scrum is an unforgettable rugby experience which, suffice it to say, involves a lot of close-quarter kicking. I recall thinking “Here I am walking into a scene from Gladiator and you are worried about chaffed earlobes?”   
            This memory resurfaced while I was preparing a message to illustrate the perplexity of Matthew 19:30 where it states: “But many who are first will be last, and the last, first.” How paradoxical; how absolutely backwards to our human perception. What a concise look into the eternal notion of God’s ways not being our ways. His ways are beyond ours and quite frankly, they often confuse us. But isn’t that a great comfort blanket to snuggle up with. Trusting His unseen ways in the midst of confusion brings a peace that truly does transcend earthly comprehension. We devise ambitious plans to ensure our security, but, instead, we find ourselves running down life’s rugby field wearing a couple of donuts with straps protecting our earlobes. What about the rest of me? I will trust Him. And then, when I am last, I am first.

Saturday, March 3, 2012

It's Maple Syrup Time--In Tennessee???

Vermont, yes. Maine, yes. But, Tennessee?
It began a year ago. Last February, while biking through our neighboring community of Green Cove, Virginia, I noticed a grove of trees fitted with plastic tubes and white buckets. What the heck?? Then it dawned on me. Every year the Mt. Rogers fire department has a maple sugaring event—these must be some of the trees they tap. I’d never attended the event or seen a maple sugaring operation before and was instantly fascinated. But, maple sugaring in Virginia or Tennessee—who’d have ever thunk it??
Some research reinforced the feasiblity of producing maple syrup in this region—provided you have maple trees and a relatively small amount of equipment. Given how relatively simple a "backyard sugaring operation" seemed, I was surprised when an agricultural agent said he only knew of a couple people in the area who made maple syrup. When I asked why, he simply replied, “It’s too much work.” That answer always affects me in a primal way; it's probably related to why dogs chase cars. And with that, I had to try.


Step 1: Feasibility
Since my feet are still recovering from injuries, we surveyed only the most accessible trees on our land. Although the sugar maples of New England are more productive, you can use any species of maple for sugaring. We found 40 to 50 sugar, black, and red maples of adequate size. Last fall we marked them  when the leaves were still on for easy identification. They range in size from a minimum of 12 inches in diameter to a couple of beauties that approach three feet. This is more than adequate for a test run. We decided to do our maple syrup trial run by tapping just 25 of the most easily accessed trees.

Step 2: Sap Collection Supplies

Although commercial sugarers utilize elaborate systems, a backyard hobbyist can begin with surprisingly few essentials. Our sugaring adventure began with:
  • 25 7/16” spiles (plastic taps that are inserted into the tree)
  • cordless drill for boring the holes
  • 40 feet of plastic tubing
  • collection jugs; we used cleaned and recycled plastic milk jugs
  • rope to secure the milk jugs to the trees
  • a 4-wheeler to get from tree to tree (optional) J


Step 3: Tapping the Trees

Knowing when to tap the tree is one of the keys to success. Given our unusually warm February, we weren’t sure when the best time would be, so we employed a proven tactic—we spied. When I noticed the taps in at Green Cove, we tapped the following day—February 25.
Procedures:
About three feet above the ground, drill a 7/16” diameter hole about 2 inches deep into the tree, angling it slightly upwards to facilitate sap drainage. It's recommended to drill the hole on the warmer south side of the tree.


Tap in the spile with a wooden mallet until secure.


Hang a collection jug below the tap (the jug or 5 gallon bucket may sit on the ground, but we didn’t want any “dog interference” flavor).


Cut a length of tube and fit it from the spile into the pre-drilled lid and attach to the container. 


Repeat the process on all of your trees, and wait for the sap to flow. Ideal weather for maximum sap collection is chilly nights (below freezing) and warm days (above 40). 

Step 4: Collecting the Maple Sap

It didn’t take long for the sap to start flowing. We checked our trees the next day and we were already in business. The trees in the cooler shade produced sap less than an inch deep whereas the collection jug on one maple in the direct sun was almost full. On the second day we gathered the sap in five gallon buckets for an initial harvest of 14 gallons. Thus far, this is so easy that even I can do it.


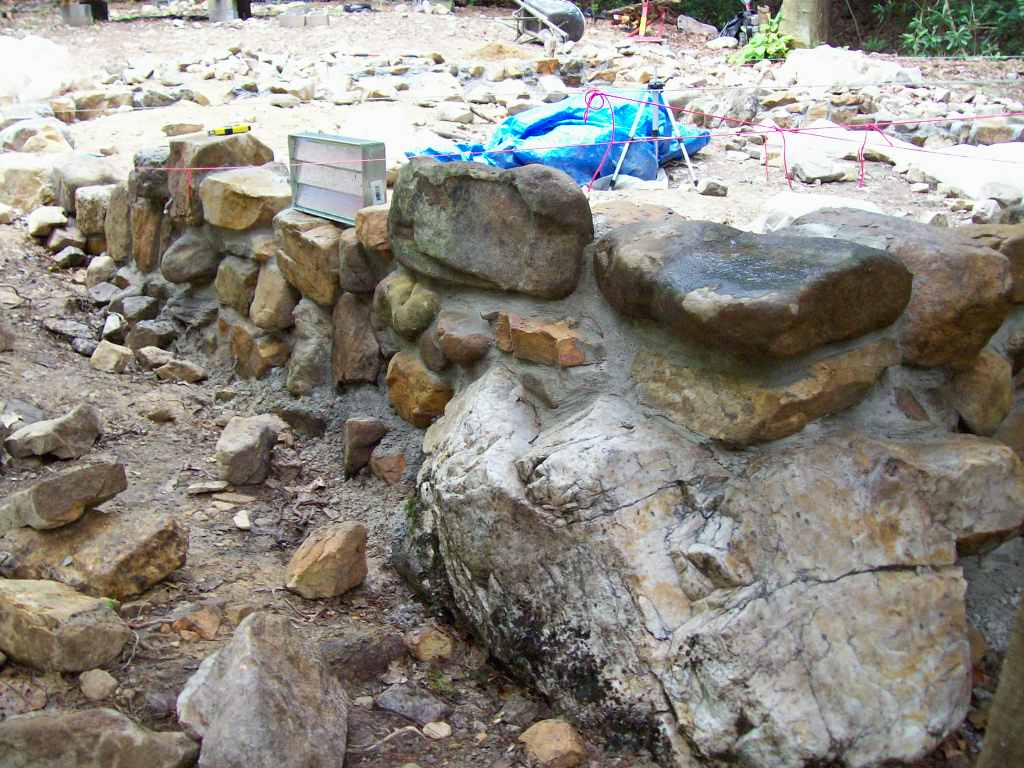
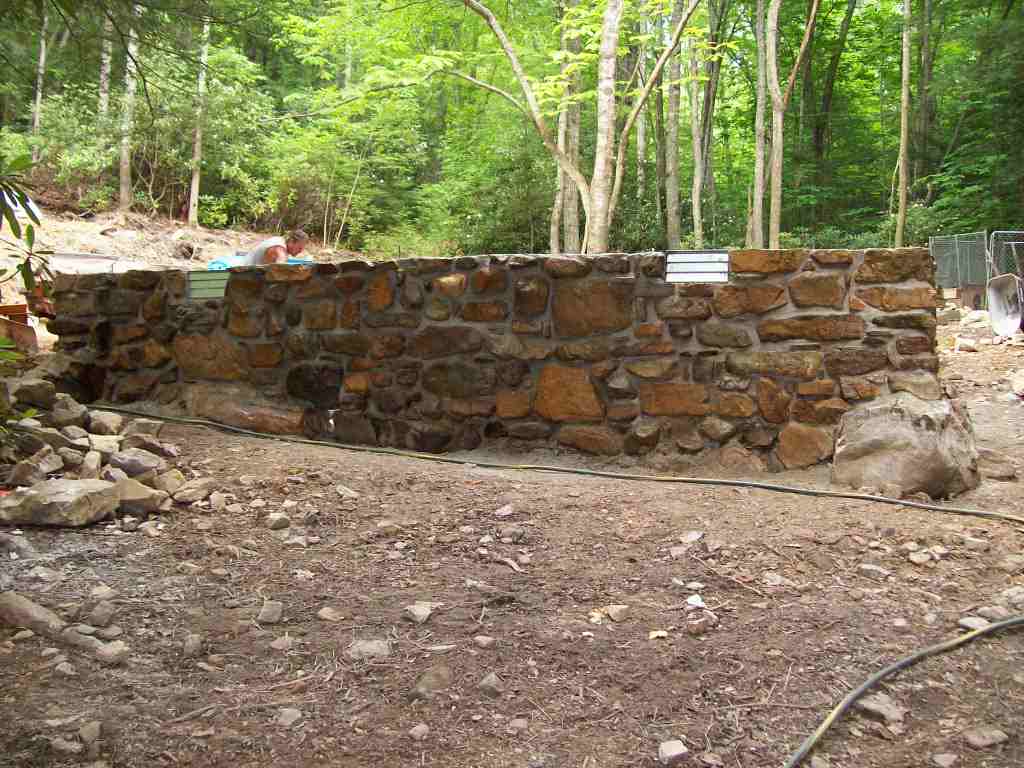
Step 5: Boiling the Sap Down to Syrup

This being our first year and a bit of an experiment, we used a simple firepit made from stones, fire brick, and steel bars for the grate. Although this method proved to be adequate for our fledgling run, a more permanent evaporator would increase production and efficiency and may be in our plans for next year.  Sap to syrup ratios are approximately 40 to 1. And yes, that means to make 1 gallon of maple syrup, you need at least 40 gallons of sap. This explains two things--the high cost of pure maple syrup and why we spent the next 12 hours boiling down 14 gallons of sap. With that much sticky moisture being released into the air, this also explains why the evaporation process is typically done outside or in a well-ventilated or open-sided structure. Horror stories of well-meaning but misguided guys boiling down maple sap in their wive's kitchens abound.

For the best success, start early, have plenty of seasoned firewood, and possess the proverbial patience of Job. While the fire is building, you may want to preheat the first pan of sap on the kitchen stove to save some time. You will probably want to filter the sap through several layers of cheesecloth before you begin processing. Once your fire is hot, fill your evaporating pans about three-quarters to the top with sap and bring to a rolling boil. An enamel stockpot and roaster worked well for our trial run, but a more traditional stainless steel evaporating pan two feet wide, several feet long, and about eight inches deep would be much preferred. Nevertheless, even with our "field-improvised" outfit, it was easy to watch the level of the sap fall during the boil.


  As water evaporates and levels drop, keep ladling new sap into the pots to keep them about three-quarters full while maintaining a rolling boil. You will also need to skim off any foam or debris that gathers on the surface. As the sap boils down, you will begin to see it take on a beautiful amber hue. After umpteen hours of tending a fire, to say that this is highly motivational is an understatement. In future "cook-offs" I will probably bring a good book to pass the time, but on this maiden voyage I put to death the age-old myth that "A watched pot never boils." I'm a little embarrassed to confess that I spent the next 12 hours highly entertained watching pots boil. Some people are easily amused.


A bit of math provides an idea of when to stop cooking outside and bring your liquid gold indoors for the "finishing." Using the ballpark figure of 10 gallons of sap to produce one quart of syrup, you would probably want to transition inside when you have about a gallon left (do not let the level in the evaporating pan ever get below 1 1/2 or 2 inches as it can easily scorch). In our case, nightfall inspired us to bring the operation inside a little prematurely.
We double filtered the remaining 1 1/2 gallons before bringing it inside, using several layers of cheesecloth, to remove ash, sugar sand, and any uninvited debris.


Technicalities for the finishing can get quite involved (see links below) but here is the Maple Syrup for Dummies version: Determine the boiling point of water at your elevation and add 7 degrees. As your syrup is boiling, when it reaches that temperature, it is considered "finished."
A hydrometer is recommended for verifying the sugar content, but this technique will get you very close to the desired 66 to 67.5% sugar content.


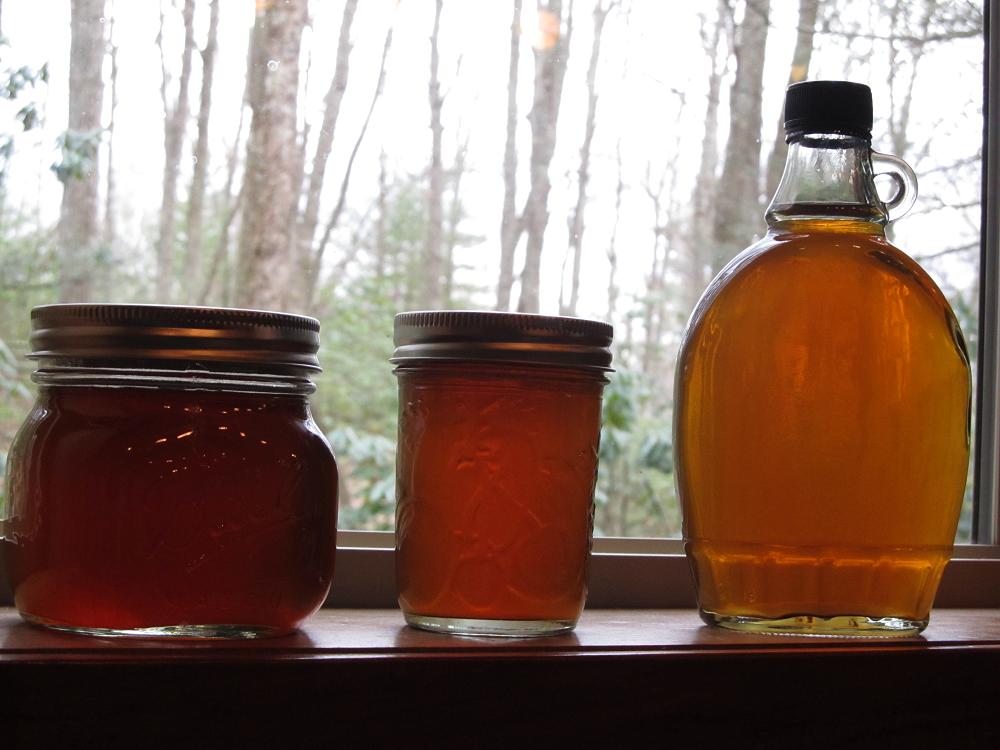
 At our elevation of approximately 3,330 feet, water boils at around 209 degrees F. When our syrup reached 216 degrees, about 13 hours after we began, we stuck a spoon in it and called it done.


After a few sample tastes, we bottled our syrup--all 36 ounces of it. In spite of such a small return, it was an interesting and satisfying effort. I have never tasted a more exquisite syrup in my life. We already have enough sap for our next run.


Meditational Conclusion:
So, was it “too much work”? By contemporary standards, I suppose that it was. And if you live by contemporary standards, maybe Aunt Jemima’s utility pole syrup rests comfortably on your pantry shelf. That's fine and more power to you. But, even dating back to the Bible, you find a similar notion—that out of the abundant harvest comes a winnowed selection; out of the masses come a few. Over and over again in the scriptures, there is always the picture of a chosen remnant. A picture of how out of all the people in the world, with so many lost in the ADHD hustle and mind-numbing bustle, there is really just a small remnant of individuals who set their hearts and minds to truly seek God. It would be easy to ask God the same question. While watching the sap boiling I couldn’t help but ponder His answer. I will answer in similar fashion: Yes, it is a lot of work. But, the feast that follows makes it worth it.


Resources:
A more involved treatment on how to make maple syrup can be found at the Ohio State University website and at the University of Maine website.